Leather Fold Over Clutch
Check out this tutorial for a super easy way to add the zipper http://sayyestohoboken.com/2012/04/diy-leather-fold-over-clutch.html
Check out this blog for excellent instruction for a lined fold over clutch http://transientexpression.com/tutorial-tuesday-leather-foldover-clutch/#
I combined the two and this is the result! I love it and can't wait to take it out for a night on the town. I am tempted to add some long straps so if I get that far I will definitely do another tutorial because I could not find any tutorials on a fold over bag with straps.
INSTRUCTIONS
Supplies
1/2 yard of fashion fabric
1/2 yard of lining
1/2 yard fusible interfacing
1 16" zipper
Step 1:
Cut 2 pieces of fashion fabric 13"X13"
Cut 2 pieces of lining fabric 13"X13"
Cut 2 pieces of fusible interfacing 13"X13"
Step 2:
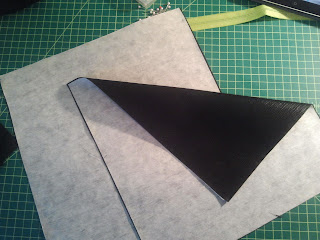
Fuse interfacing to fashion fabric
If you are using leather be sure to iron on back side of interfacing not on the leather side.
Step 3:
Pin zipper edge to fashion fabric, right sides together
(that means zipper front is facing down)
Step 4:
Pin lining to fashion fabric over zipper, right sides together.
Step 5:
Using zipper foot sew along zipper edge
This is what you should have now.
Step 6:
Do the same to the other side of the zipper
Remember to put zipper front towards fashion fabric and sandwich in the lining piece.
This is what you should have now.
Step 7:
Open zipper half way
Pin right sides of fashion fabric together, lining will be on the outside.
Step 8:
Sew around the 3 edges
Tip: Sew 2 diagonal stitches at the corners,
this will help create a nice point when you flip it inside out.
Step 9:
Miter the corners
This helps reduce the bulk in the corners
Flip inside out and Tada**


No comments:
Post a Comment
Go ahead and leave a comment..